It is important to disregard the instructions included with a Presso. Following the standard instructions for filling the Presso's chamber will trap air in the chamber. It is not necessary to create a plug to fill this gap, simply following these alternative pouring instructions will
completely fill the chamber with water and force out all the air.
It might be easier to practice with room-temp. water till familiar with the sequence.
EASY
1. Raise the arms to their highest position and hold up.*
2. Begin pouring water on top of the piston. If water begins to build up on top of the piston jiggle the arms slightly, pour more slowly, or 'pulse' the water flow.
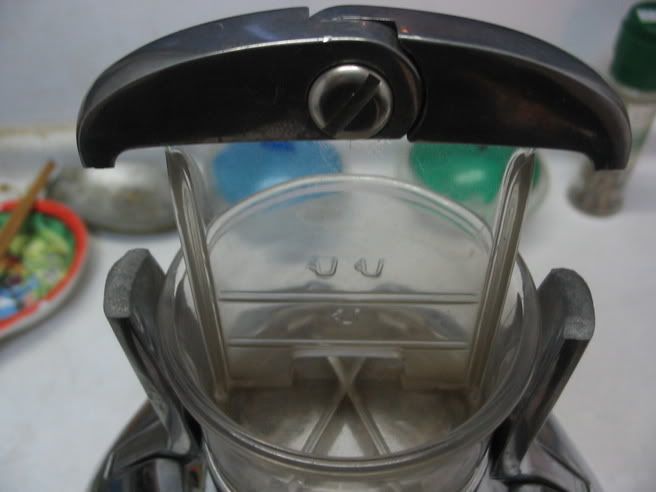
3. Continue pouring till there is no air visible under the piston and the chamber is completely filled.
There is still a bit of air trapped at the top of the piston which is impossible to eliminate due to the position of the holes and the concave shape of the piston head.
*it is important to hold at least one arm up to open the holes in the piston head.
EASY + FAST
1. Start with the arms in the lowest position.
2. Begin to pour the water while slowly raising the arms. Try to keep a small reservoir of water on top of the piston
3. Stop when the arms are raised to the highest position. Check that there is no air trapped under the piston head, 'top off' if necessary.
BETTER*
Assuming you are making a standard 2oz espresso it is not necessary to raise the arms/ piston to their highest positions.
Start with arms (and piston) all the way down.
Pour in boiling water while slowly raising one lever/arm.
(you can raise the lever with one hand as there is little resistance)
Continue raising the arm till the bottom of the piston has cleared the metal body.
At this point stop lifting up, but continue slowly pouring in water while 'jiggling' the arm.
(This will allow water to replace all the air trapped under the piston. You will be able to see how much air is left, continue till there are just 6 small bubbles trapped inside the piston.)
Now press down!
*Better because you won't have so much water left over at the end of the shot.
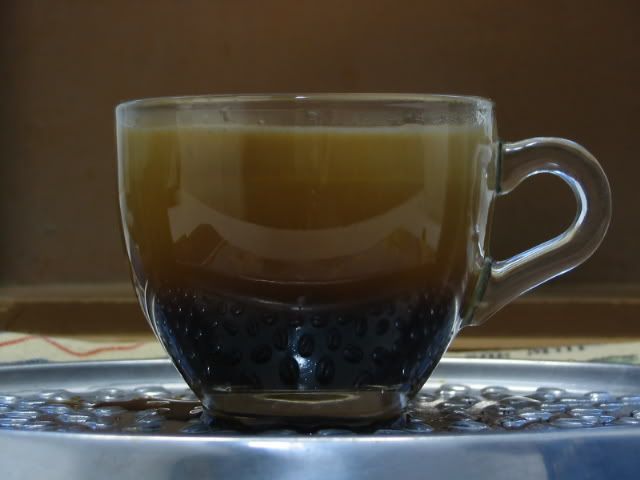 Settling out . . .
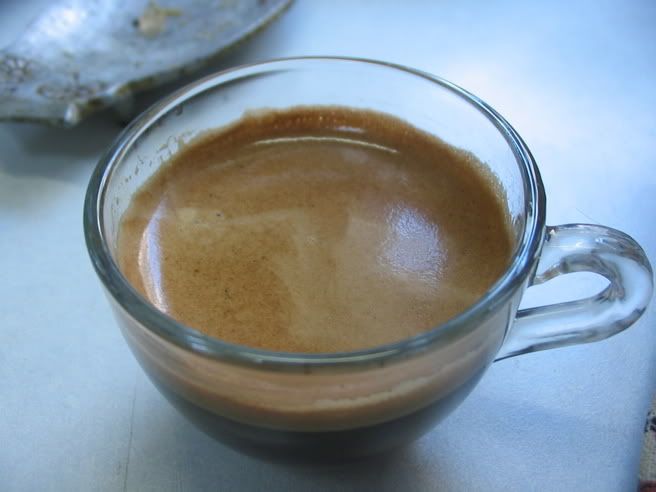 Ready
Ready