Cleaning and drying
With the removal of a single screw-pin all parts can be taken out and cleaned.
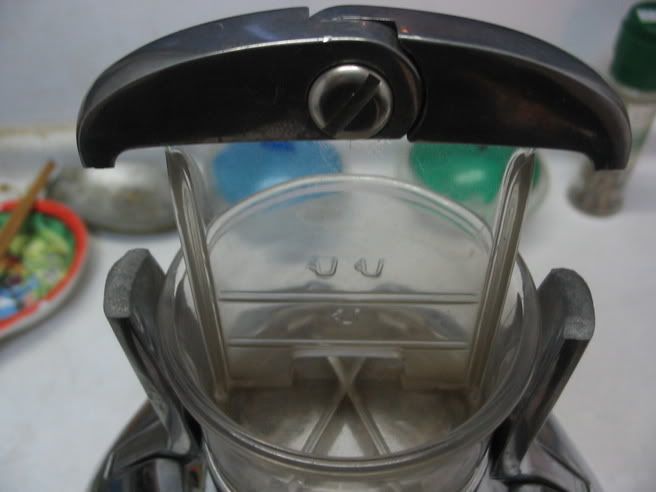
The two arms are connected to the piston at the top by a single screw-pin*. Taking this out will allow the piston(1), cylinder(2), and dispersion screen to be taken out and cleaned.
This will also allow all parts to dry completely, which would not happen otherwise.
* Keep this loose. It is not necessary to tighten it completely.
(1) Take care to position the piston correctly (aligned with arms) when replacing it.
(2) The cylinder can be removed by twisting it counter-clockwise and lifting. Reverse to replace.
NOTE: the cylinder can be difficult to remove until everything cools down.
posted by hbuchtel at 12:01 AM
![]()